Getting Started with Docker and Portainer
18 Jan 2020Everyone knows about the brilliance of Docker. Making containerized applications that run the same on every system is the easiest way to manage your server. But the Docker CLI can be a little daunting to those new to the software, or tedious to some veterans. In either case, having a GUI manager for Docker can simplify most common tasks, and that’s where Portainer comes in.
Installing Docker
The first step is, of course, to get Docker itself up and running. So let’s get started by installing Docker:
sudo apt install docker
You should, of course, use the equivalent command for your operating system. Now that Docker is installed, we need to set it up. The following commands will tell the operating system to start dockerd on boot and start the Docker daemon, respectively:
sudo systemctl enable dockerd
sudo systemctl start dockerd
Now Docker is completely set up. However, you’ll find that if you try to run a Docker command, you’ll get a “permission denied” error. This is because your user is not in the docker group, and therefore doesn’t have permission to use commands under that group. We’ll have to add your user to the docker group, otherwise we’d have to prefix every Docker command with sudo.
sudo usermod -a -G docker $USER
where $USER is your current user. Now you should be able to run Docker commands without root.
Running Portainer
Now that we have Docker set up, we can start Portainer. Just run this command:
docker run -d -p 9000:9000 -v /var/run/docker.sock:/var/run/docker.sock -v portainer_data:/data --name portainer --restart always portainer/portainer
and you’re done. Here’s what each part of the command does, if you’re interested.
run: creates and runs a new Docker container-d: daemonizes the container (makes it run in the background)-p 9000:9000: maps the port 9000 on the host to the port 9000 on the container. The first 9000 is the host port, and can be set to any free port. The second 9000 is the container port and does not change.-v /var/run/docker.sock:/var/run/docker.sock: allows Portainer to communicate with the Docker process-v portainer_data:/datamaps the volumeportainer_datato the directory/datain the container--name portainer: gives the container the nameportainer--restart always: sets the restart policy toalwaysportainer/portainer: specifies the image to use from Docker Hub
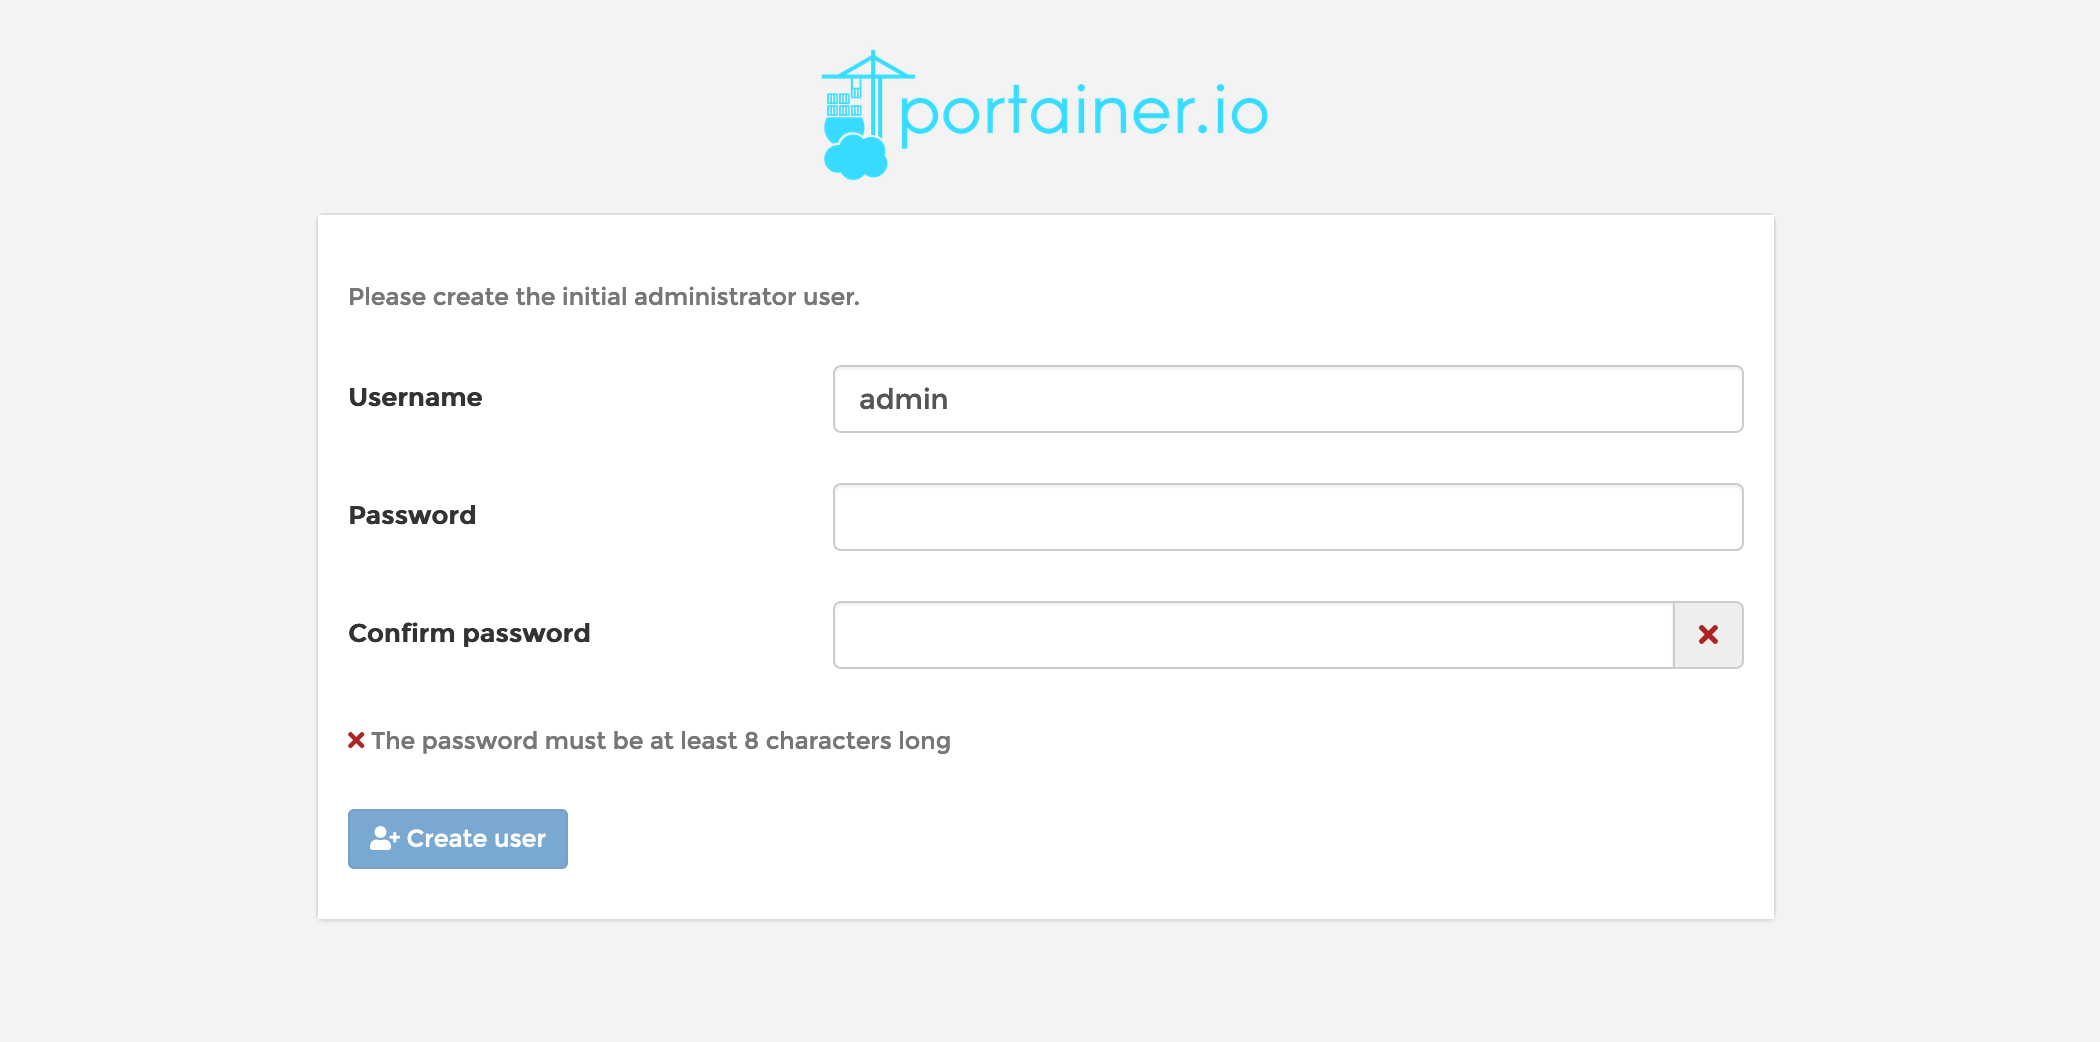
Navigate to localhost:9000 in your browser (or server_ip:9000 if running on a server), and a portainer login page should pop up.

Create a password, select the ‘local’ environment, and you’re done. Now you can start creating containers through Portainer. In fact, there should already be a Portainer container within Portainer!